VS Code
In this tutorial you will get familiar with the functionality of VS Code. A powerful IDE as it is, VS Code has a lot of features. However, even if you know the basics it will get you a long way. This tutorial is heavily based on the official Tutorial: Get started with Visual Studio Code.
Start Up
Open Visual Studio Code. Then open a folder with File > Open Folder… or
Cmd+O. On Linux/WSL users, you will first have to start a remote WSL session. With the WSL extension installed, you will see a new Status bar item at the far left.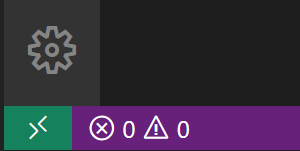
The Remote Status bar item can quickly show you in which context VS Code is running (local or remote) and clicking on the item will bring up the WSL extension commands.

Alternatively, WSL users can open their Linux terminal, create a directory in their Linux distribution file system, change their directory and open it in VS Code WSL remote with
code .:cd mkdir vscode101 cd vscode101 code .Note the
.in front ofcode. You need to tell VS Code what you are opening. Later, we will see that you can open any file or directory with this command.Select New Folder and create a new folder named
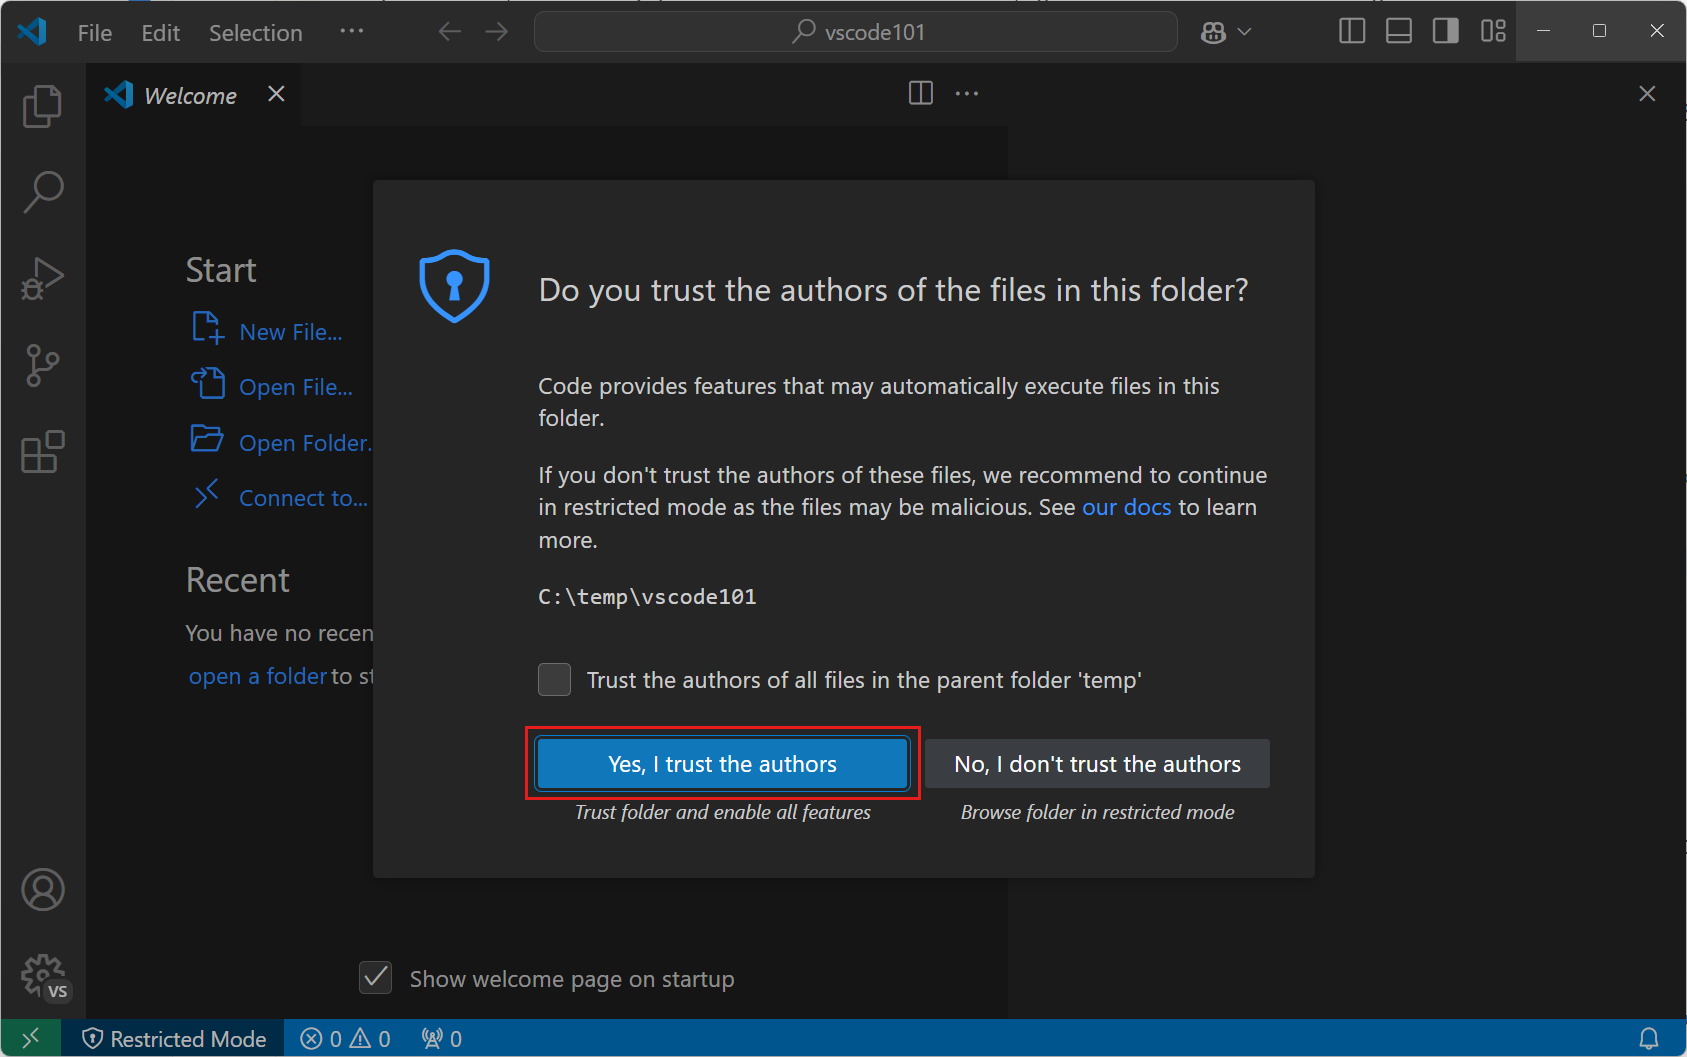
vscode101. Then select Select Folder (Open on macOS) to open the folder in VS Code.On the Workspace Trust dialog, select Yes, I trust the authors to enable all features in the workspace. If you do not see this dialog, then you probably have already opened this area before.
Workspace Trust lets you decide whether code in your project folder can be executed by VS Code. When you download code from the internet, you should first review it to make sure it’s safe to run. Get more info about Workspace Trust.
You should now see the Explorer view on the left, showing the name of the folder. Alongside terminal commands like
ls,tree, and other commands, you can use the Explorer view to view and manage the files and folders in your workspace.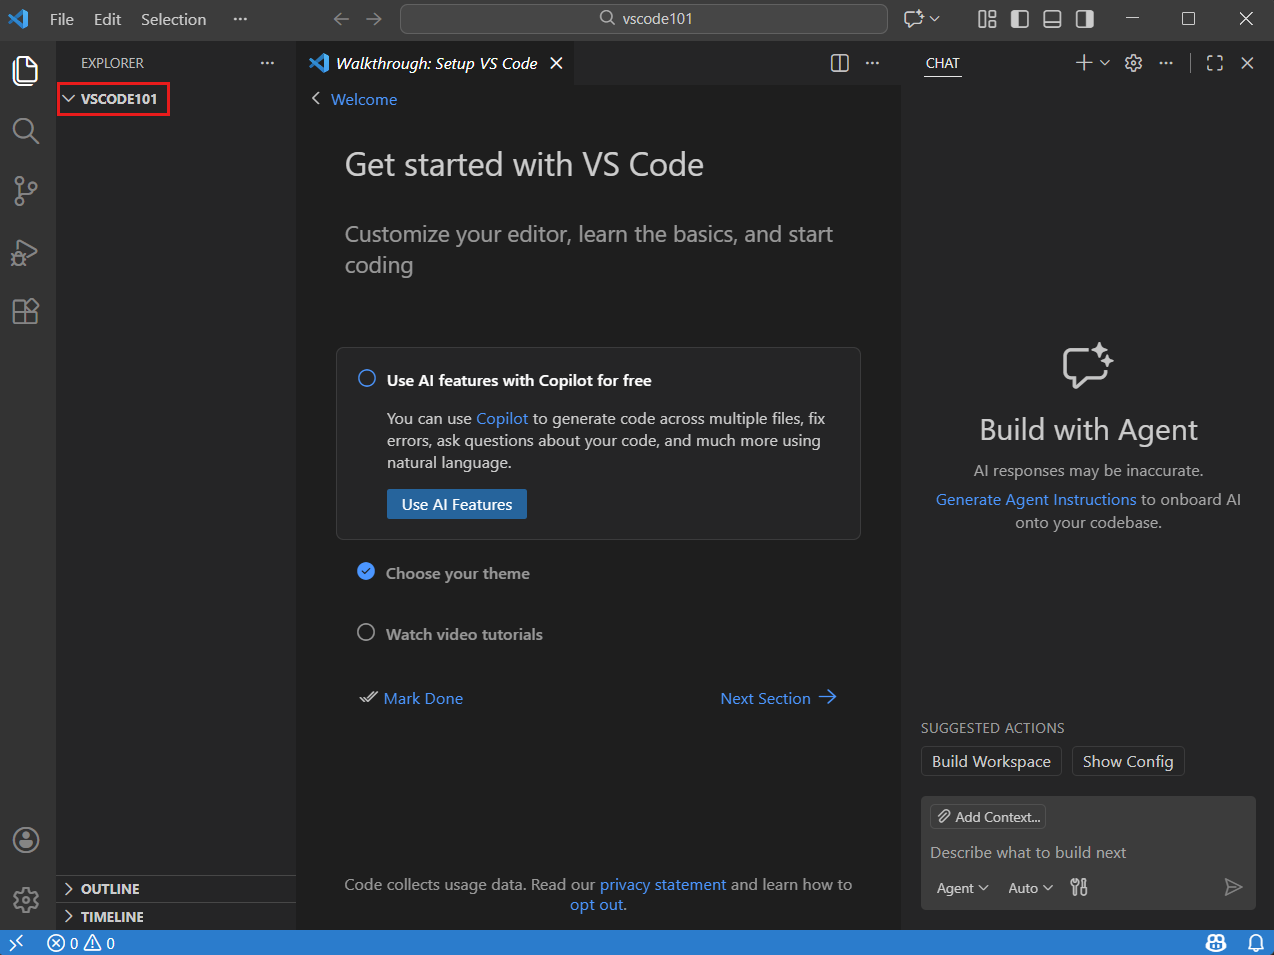
When you open a folder in VS Code, VS Code can restore the UI state for that folder, such as the open files, the active view, and the layout of the editor. You can also configure settings that only apply to that folder, or define debug configurations. Get more info about workspaces.
VS Code now considers the folder you’ve opened a workspace. You can also use code . in your terminal, especially for WSL users, to start a WSL remote session.
Interface and Layout
VS Code’s layout consists of five primary zones:
- Activity Bar (far left): Switch between views — Explorer, Search, Source Control, Run & Debug, and Extensions.
- Primary Sidebar: Context-dependent panel showing folder structure, search results, or Git changes.
- Editor Area: Where you view and edit files, split panes, and preview Markdown or interactive notebooks.
- Panel (bottom): Hosts the integrated Terminal, Output logs, Problems, and Debug Console (toggle with
Ctrl+`). - Status Bar (bottom edge): Displays Git branch, language mode, line endings, indentation, and remote WSL status.
Source Control & Git Integration
VS Code includes built-in Git support through the Source Control view (shortcut: Ctrl+Shift+G or Cmd+Shift+G):
- Staging Changes: Click the
+icon next to a modified file to stage it (git add), or click-to unstage. - Diff Inspection: Click on any changed file to view a side-by-side diff showing additions (green) and deletions (red).
- Committing: Enter a concise commit message in the message box and click Commit (or press
Cmd+Enter/Ctrl+Enter). - Graph & History: Click the branch icon or View History to inspect the branch-and-merge shape in the Git graph.
- Syncing: The bottom-left status bar or the Sync Changes button pulls remote changes and pushes local commits.
Python Interpreter Selection
When working with virtual environments created by uv (such as .venv), ensure VS Code executes code using the project’s pinned interpreter:
- Open the Command Palette:
Cmd+Shift+P(macOS) orCtrl+Shift+P(Linux/WSL). - Type Python: Select Interpreter and press Enter.
- Choose the
.venvvirtual environment (typically labeled./.venv/bin/pythonor similar). - VS Code will now use your project’s locked dependencies for syntax highlighting, linting, formatting, and terminal runs.
Settings
- Autosave: Enable via File > Auto Save (
afterDelay). - Word wrap: Toggle in any active editor using
Alt+Z(orOption+Z). - Formatting on Save: In Settings (
Cmd+,orCtrl+,), search foreditor.formatOnSaveand check the box to automatically format code using Ruff. - Tab indentation vs Spaces: Check the status bar indicator (e.g.
Spaces: 4orTab Size: 4) — Makefiles strictly require leading tabs for recipe lines.
Searching and Replacing
- File search: Press
Cmd+P(macOS) orCtrl+P(Linux/WSL) to instantly open any file by name. - In-file search: Press
Cmd+ForCtrl+Fto search, andCmd+Option+ForCtrl+Hto replace. - Project-wide search: Press
Cmd+Shift+ForCtrl+Shift+Fto search across all files in the repository.
Essential Shortcuts
| Action | macOS | Linux / WSL |
|---|---|---|
| Command Palette | Cmd+Shift+P |
Ctrl+Shift+P |
| Quick Open File | Cmd+P |
Ctrl+P |
| Toggle Terminal | Ctrl+` |
Ctrl+` |
| Toggle Primary Sidebar | Cmd+B |
Ctrl+B |
| Source Control Panel | Ctrl+Shift+G |
Ctrl+Shift+G |
| Move Line Up / Down | Option+Up / Down |
Alt+Up / Down |
| Format Document | Shift+Option+F |
Shift+Alt+F |
| Toggle Word Wrap | Option+Z |
Alt+Z |